Decided to upgrade the yard speakers we brought from our old house into the new, with the following requirements in mind:
- Dedicated amplifier (was using the TV sound system previously which was limiting and often too much a bother)
- Bluetooth support
- Streaming Spotify from anywhere on the WiFi
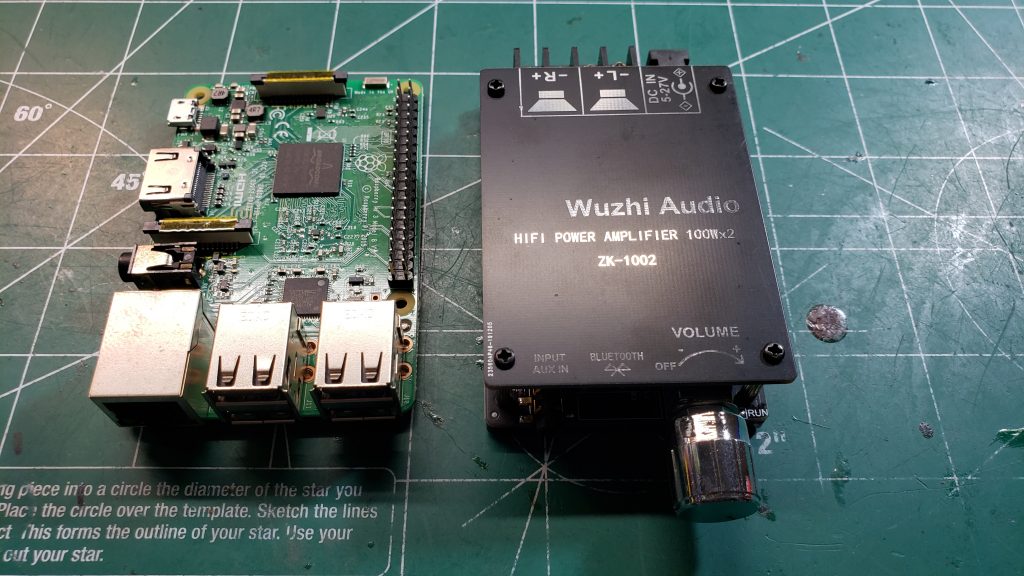
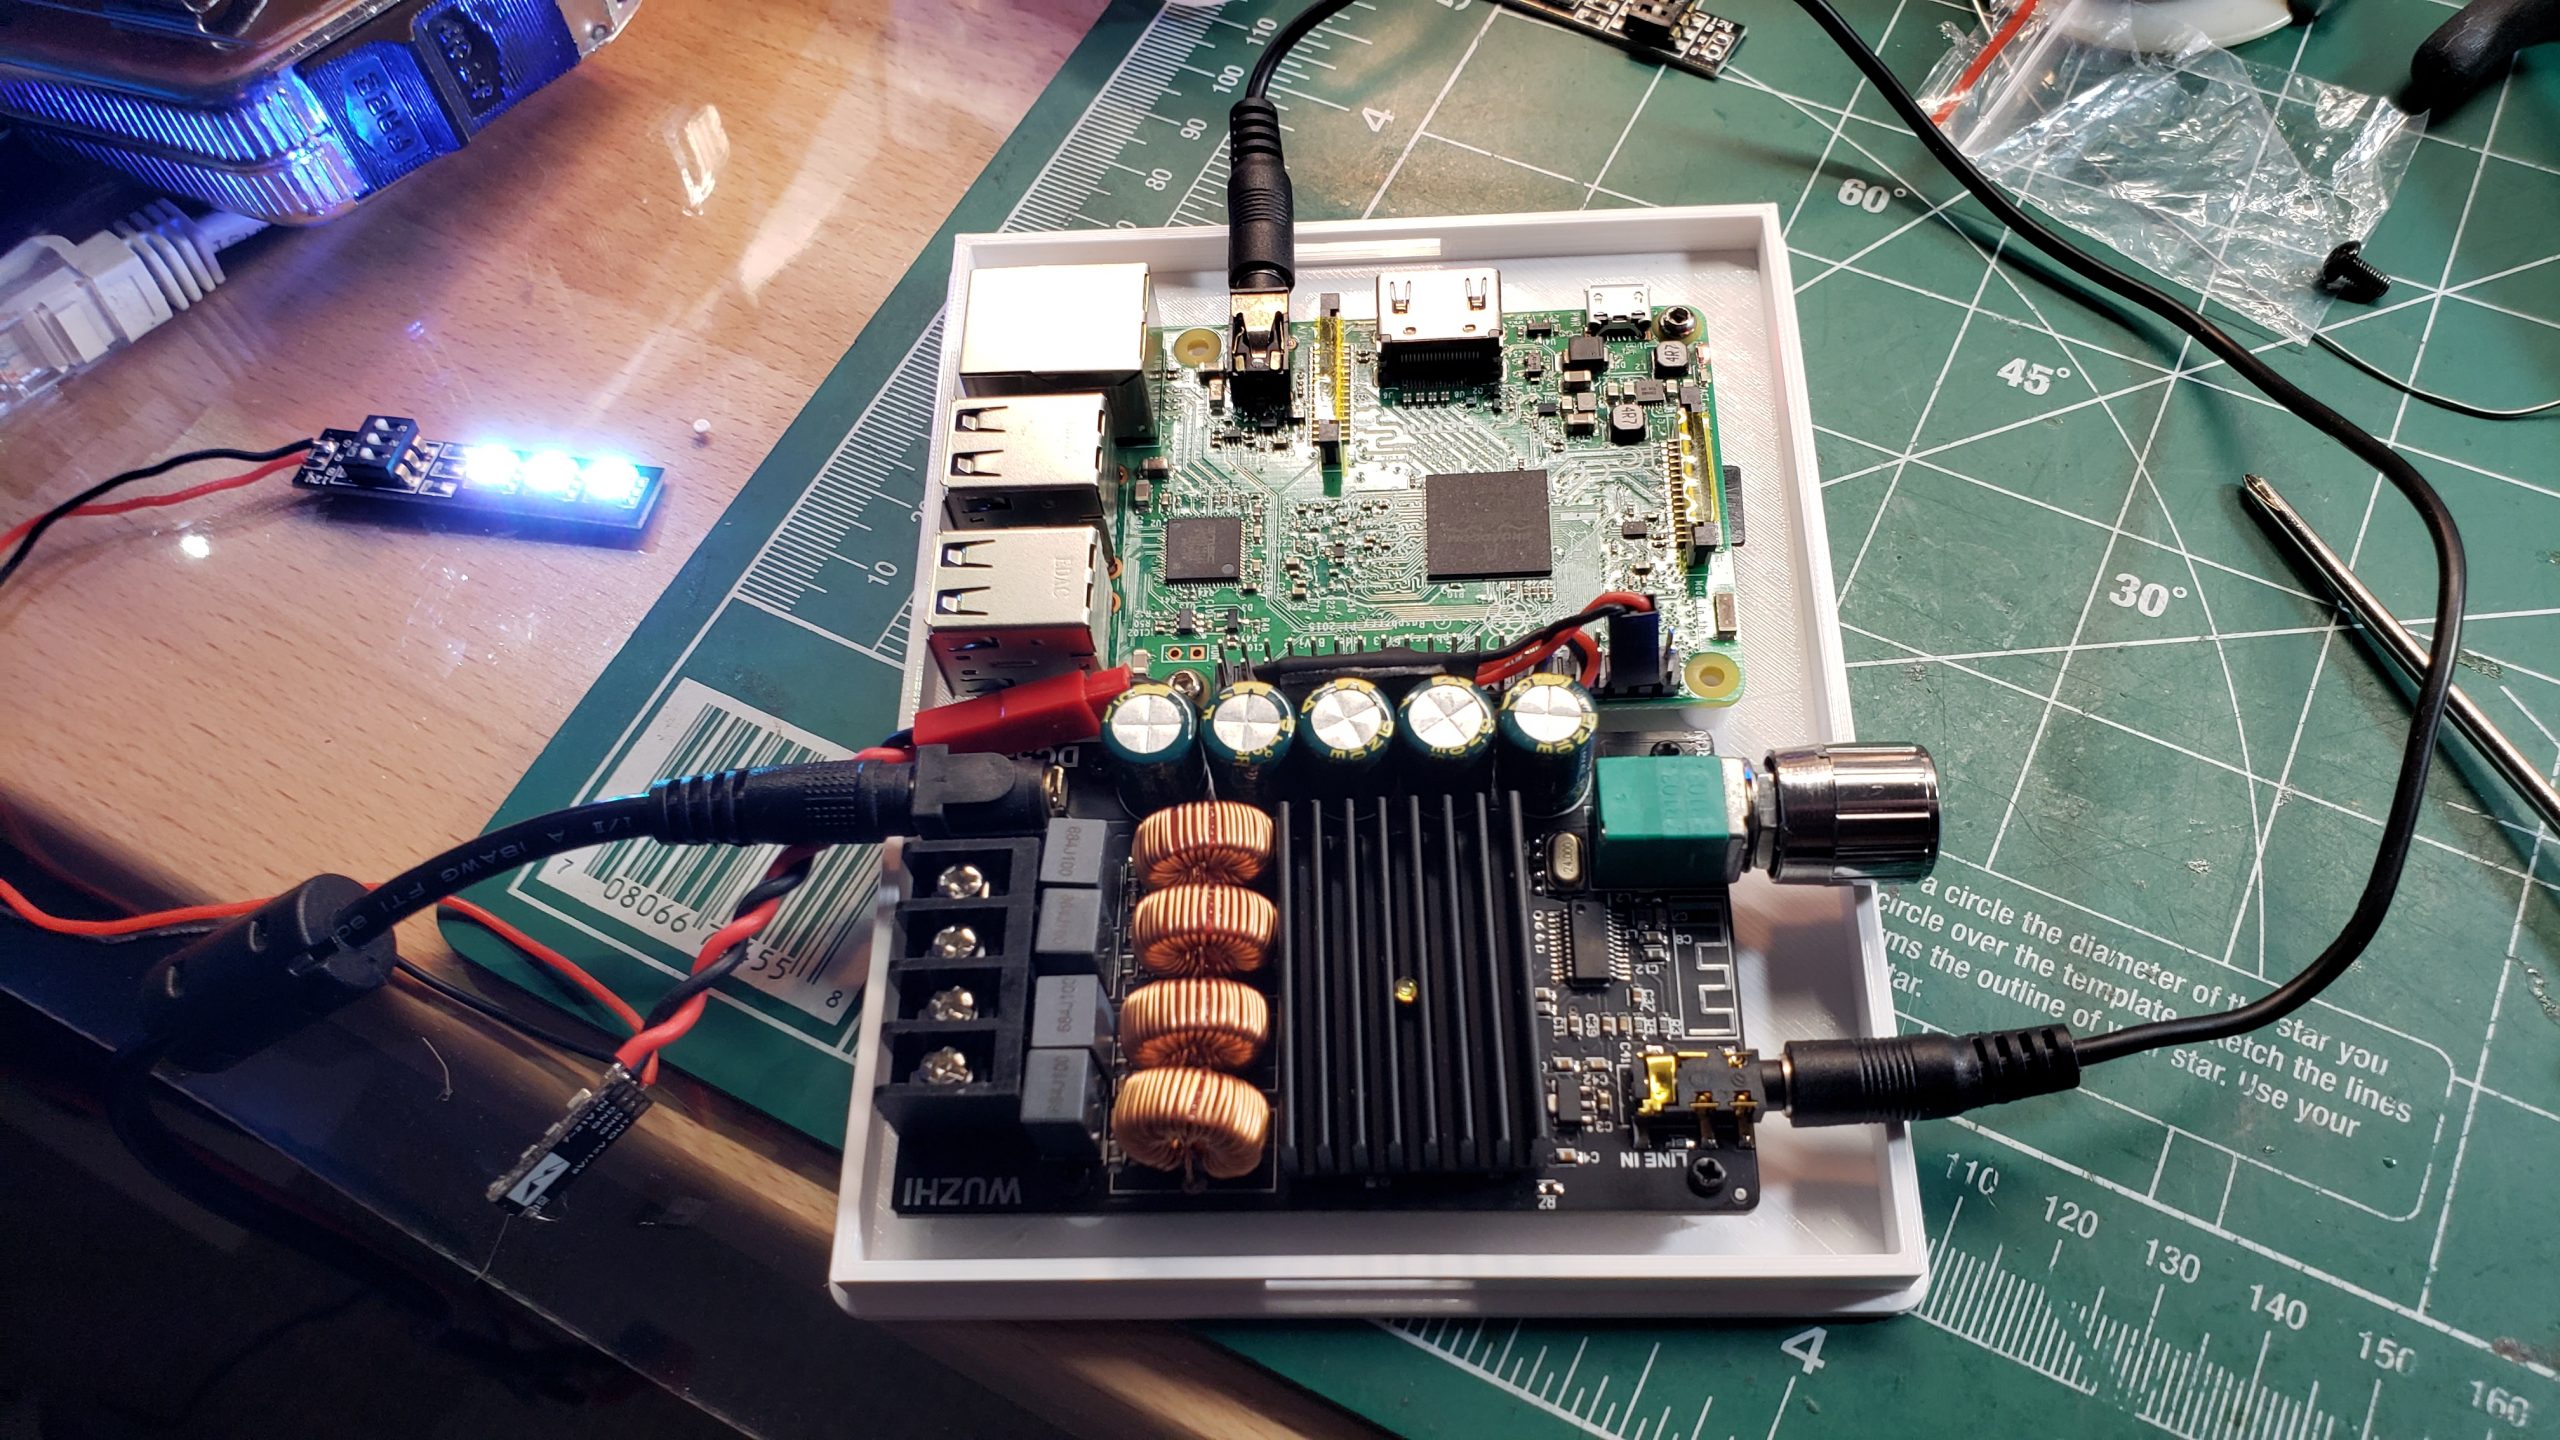
For amplifier, I decided to try this Wuzhi board with built-in Bluetooth support, but also accepting regular 3.5mm audio jack. It takes a wide range of input voltage 5-27v, claims a lot of power in an overall small package, is well reviewed and fit the DIY theme of the project.
For Spotify streaming – Raspotify on a spare Raspberry Pi.
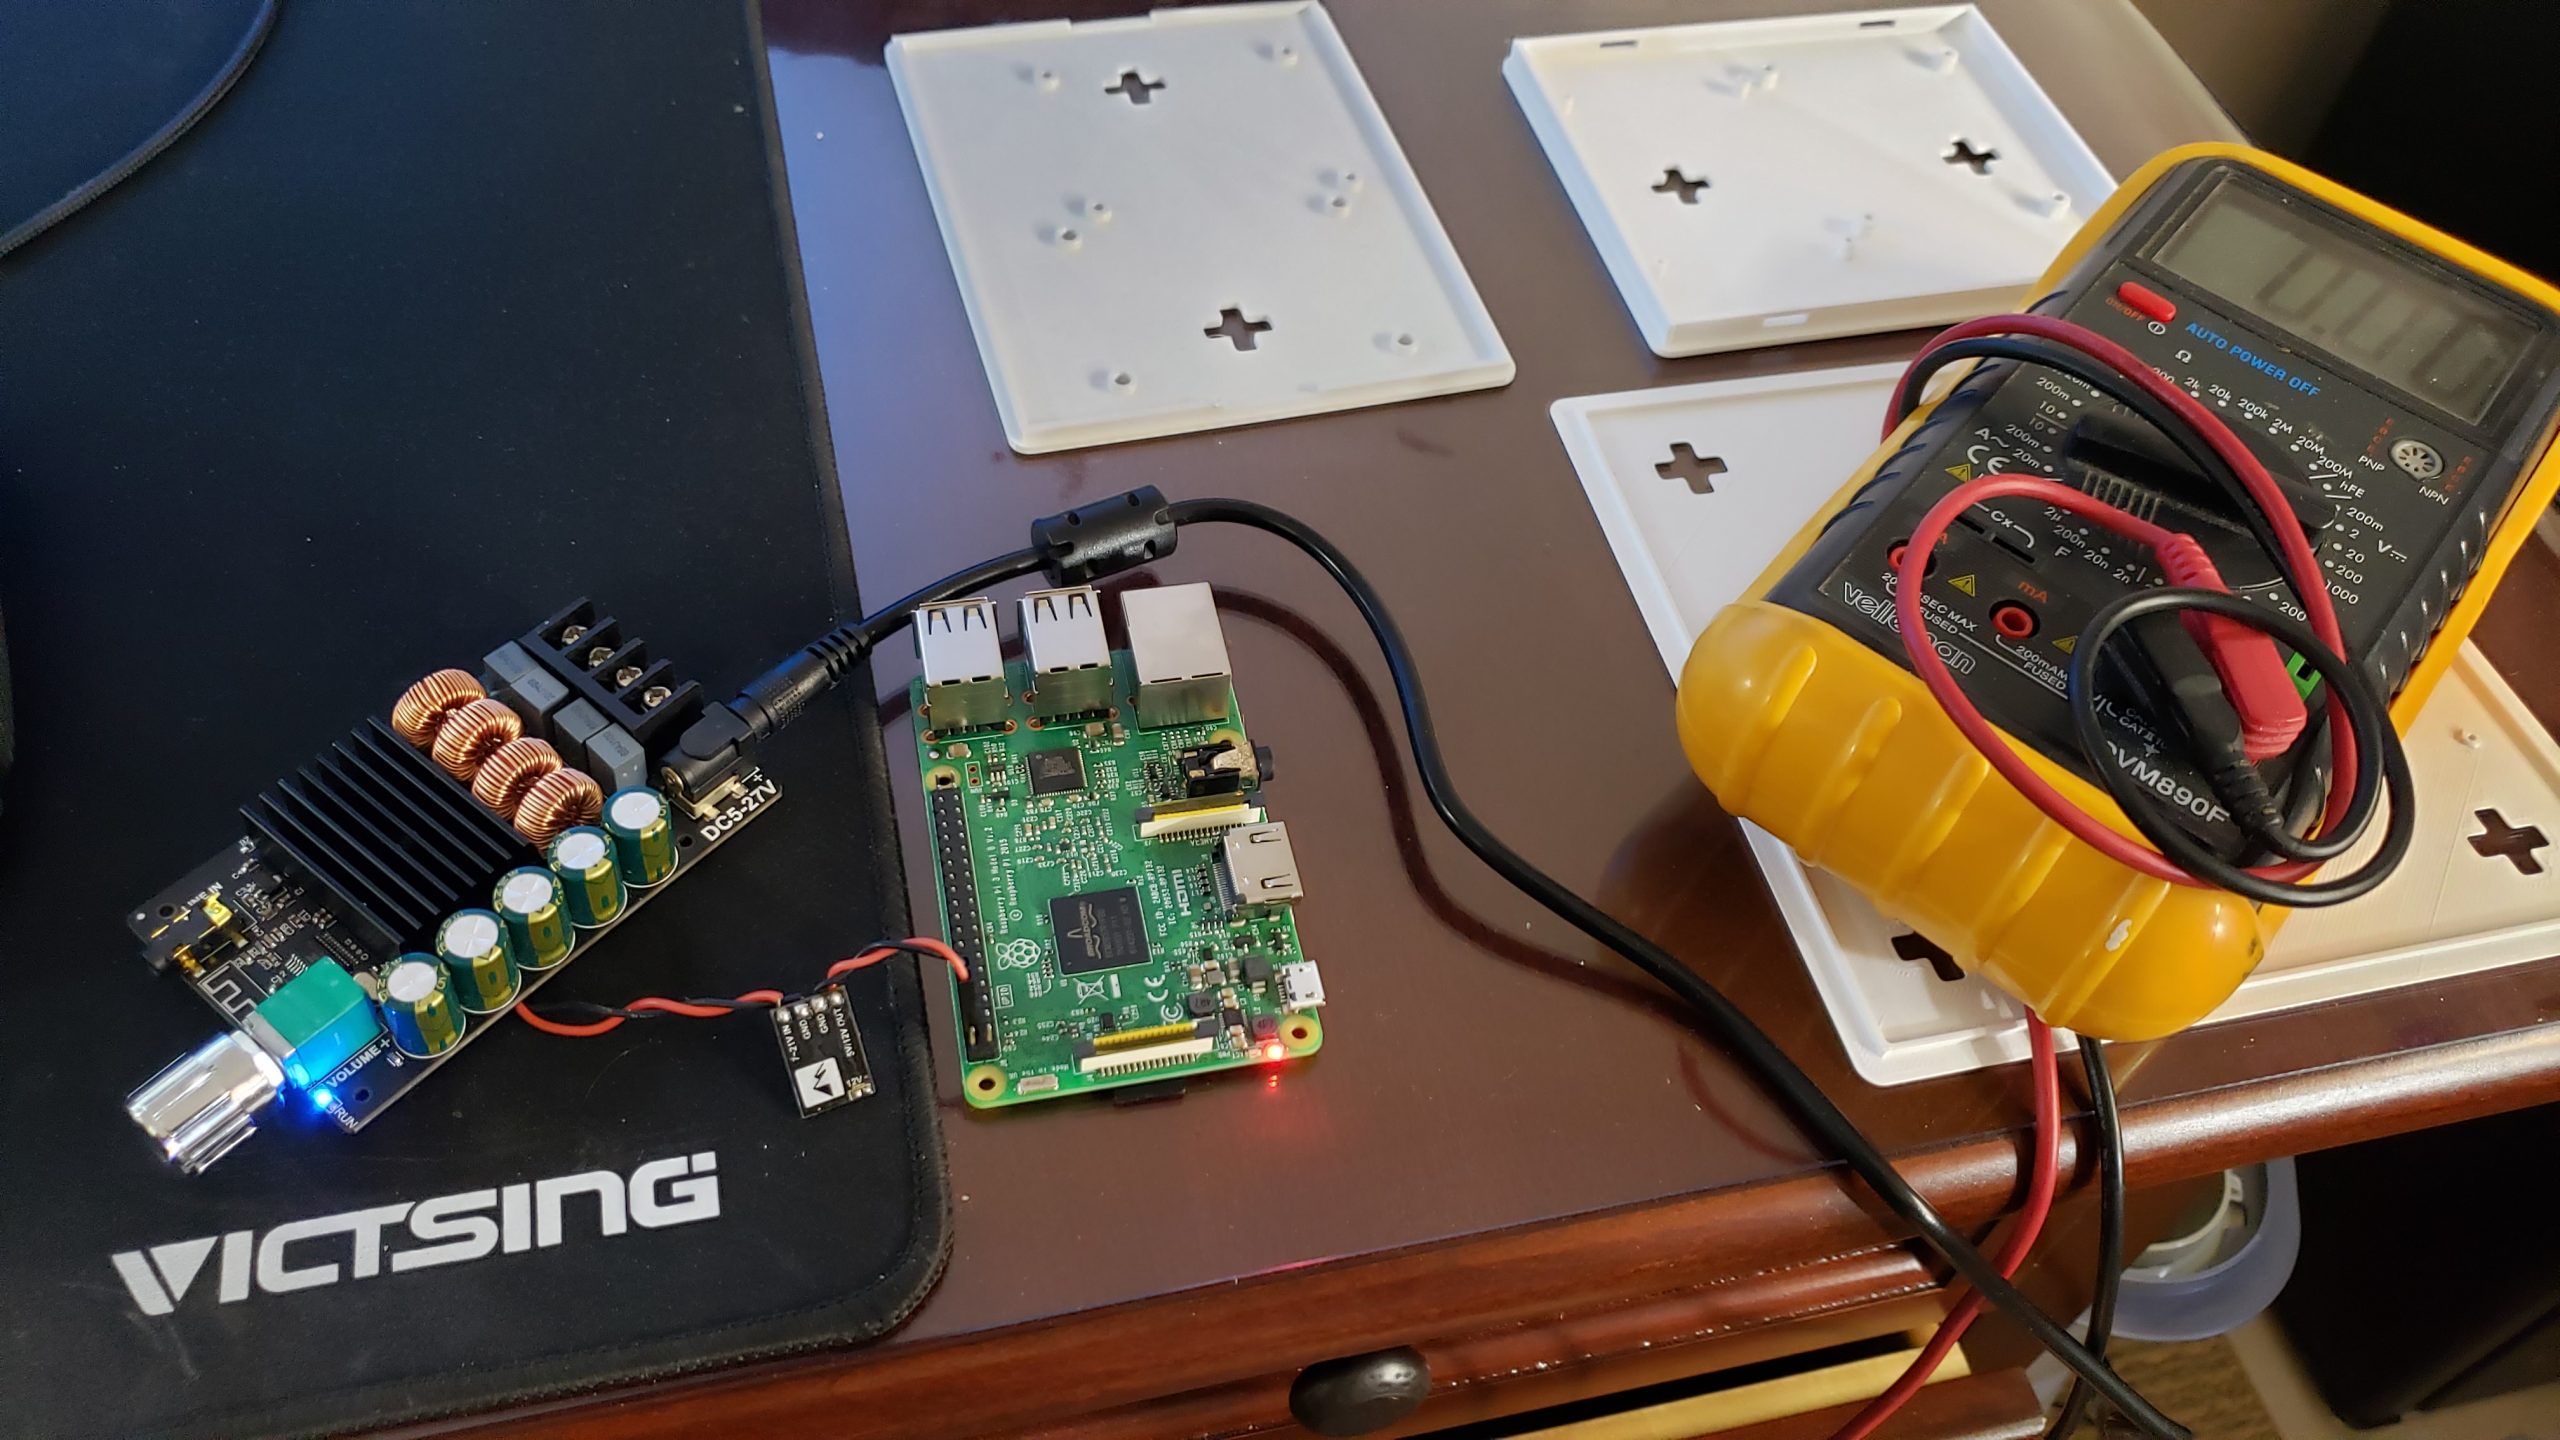
I wanted to power the Pi from the same adapted as the amp, with a 5V stepdown voltage regulator. The power adapter itself was a 20V 3A laptop power supply I had laying around.
Initial tests surprised me with a really clean and powerful sound that fills our backyard quite well. It turned out to be a fun little project involving a range of fun activities: drilling, wiring, , soldering, 3D model and printing, surface finish and software configuration.
Proof of Concept
The Pi requires 5V power supply either via the USB port or dedicated GPIO pins. I went the GPIO way because the simple header connector would be slim and more “embedded”.

The proven Matek micro BEC, which I have used a lot in my FPV drone builds was a solid 5V step-down option. It is cheap, reliable, small and slim. Few quick solders later:
For Raspberry Pi, I am using the 3B+ model running a standard Raspbian headless (lite) install. I think almost any other Pi model would work. Skipping the install steps as there are plenty of great tutorials out there, including for Raspotify (https://pimylifeup.com/raspberry-pi-spotify/)
Few gotchas to keep in mind:
- the BEC (5v step-down) must provide enough amps (2A is a good guide) to the Pi without getting hot
- wires and pads should be insulated, especially input voltage, heat-shrink, electrical tape, etc.
- ensure 3.5mm audio is enabled (raspi-config)
- volume is high enough (alsa, alsamixer)
- wifi signal is good at the target location (good idea to reserve or note down the Pi IP address)
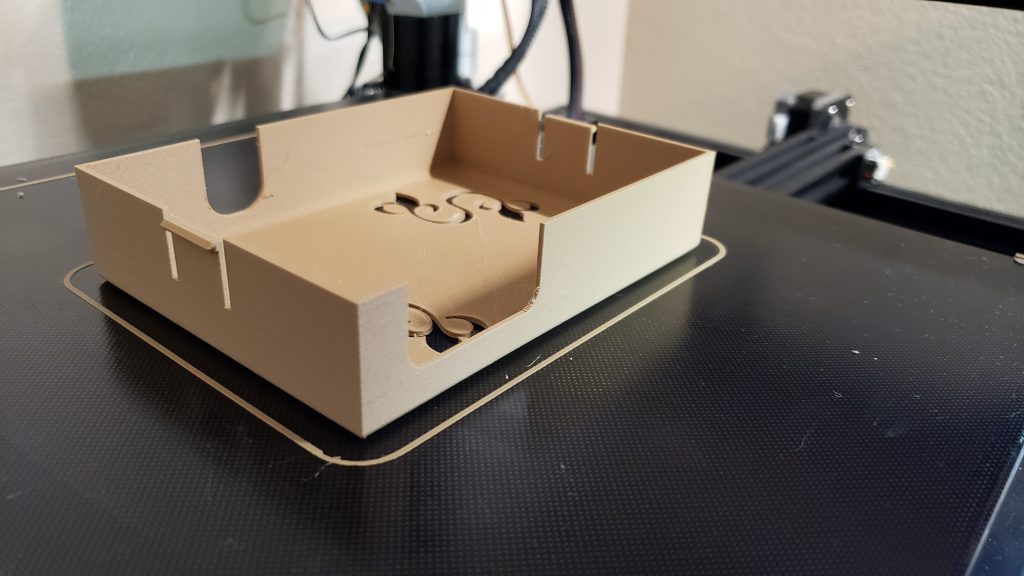
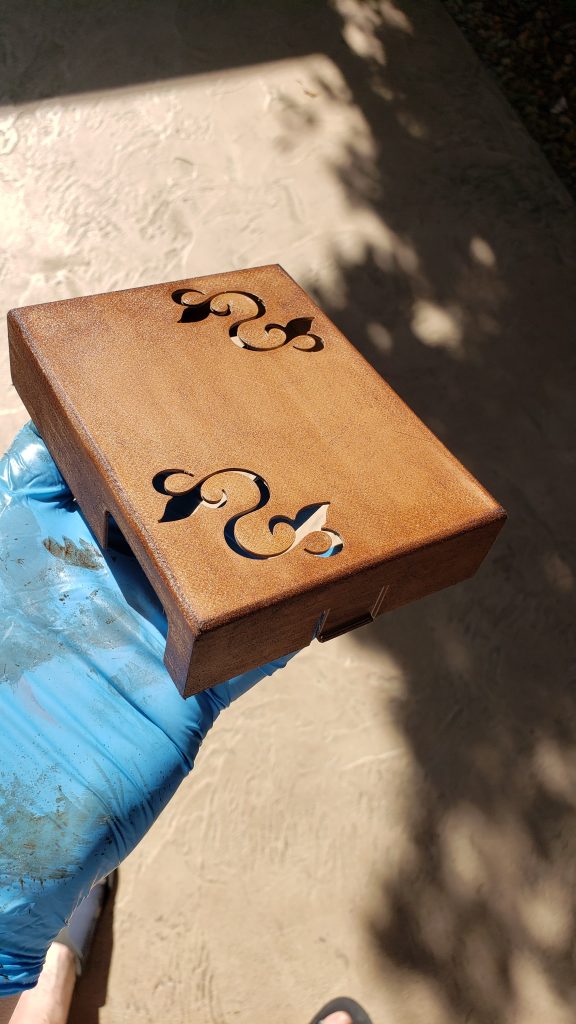
Enclosure Box
I wanted a neat but simple to service enclosure box. The cover should be easily removable without screws, while remaining firmly in place during normal use. A while back, I saw a design with flexible push-tabs that lock into slots. This was a perfect opportunity, to experiment with this approach.
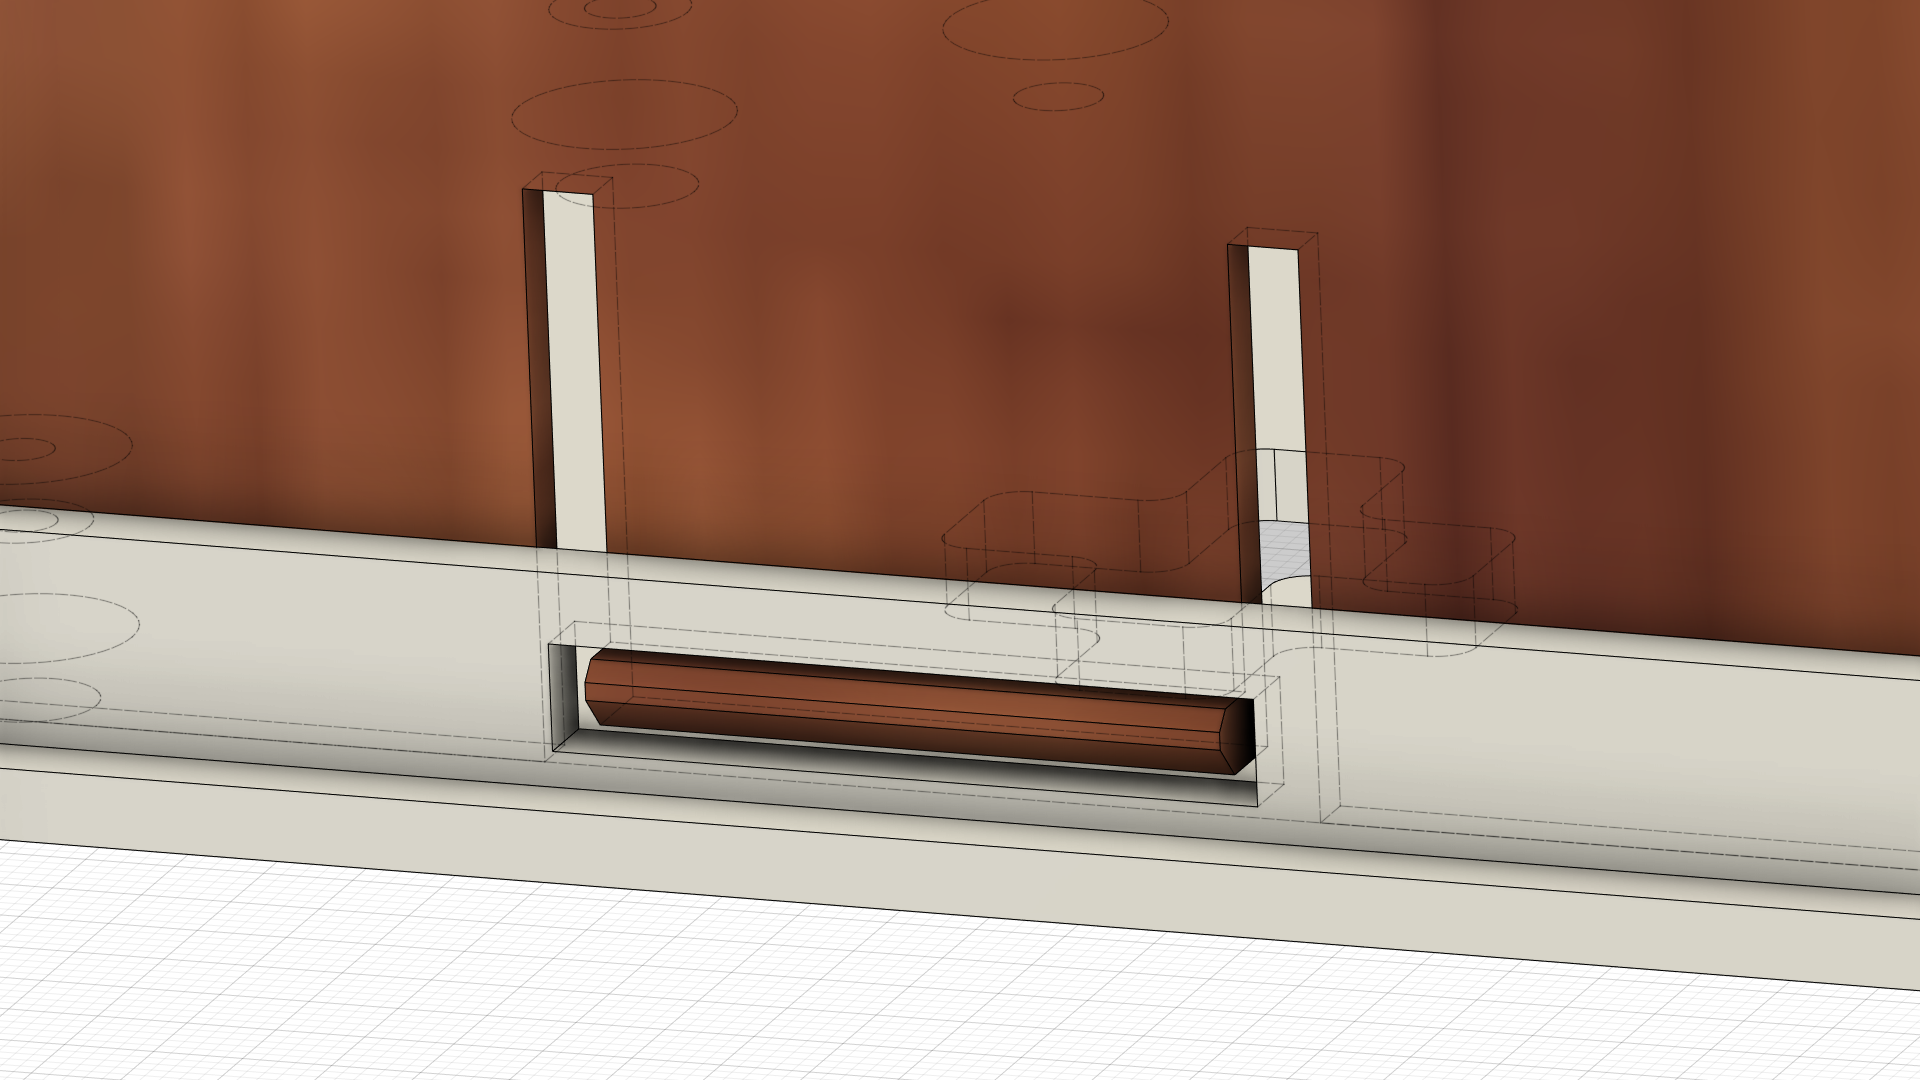
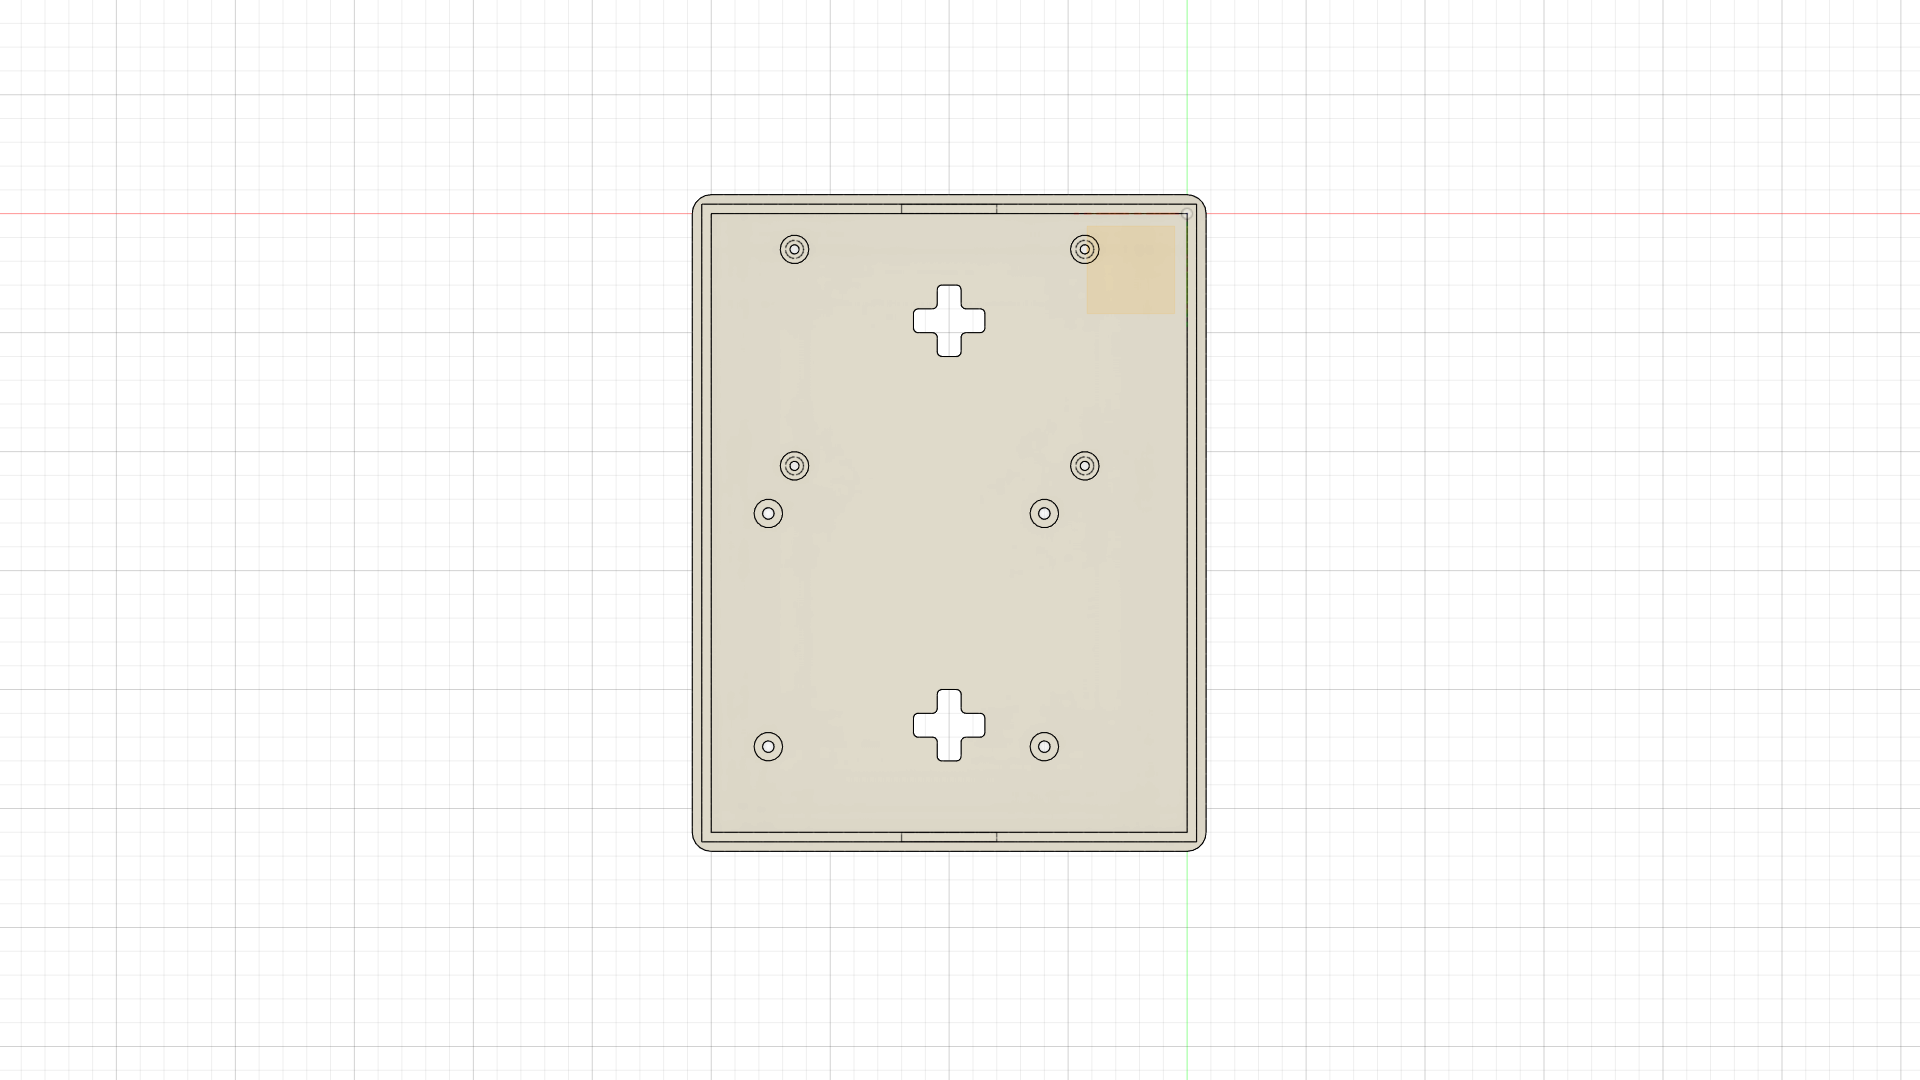
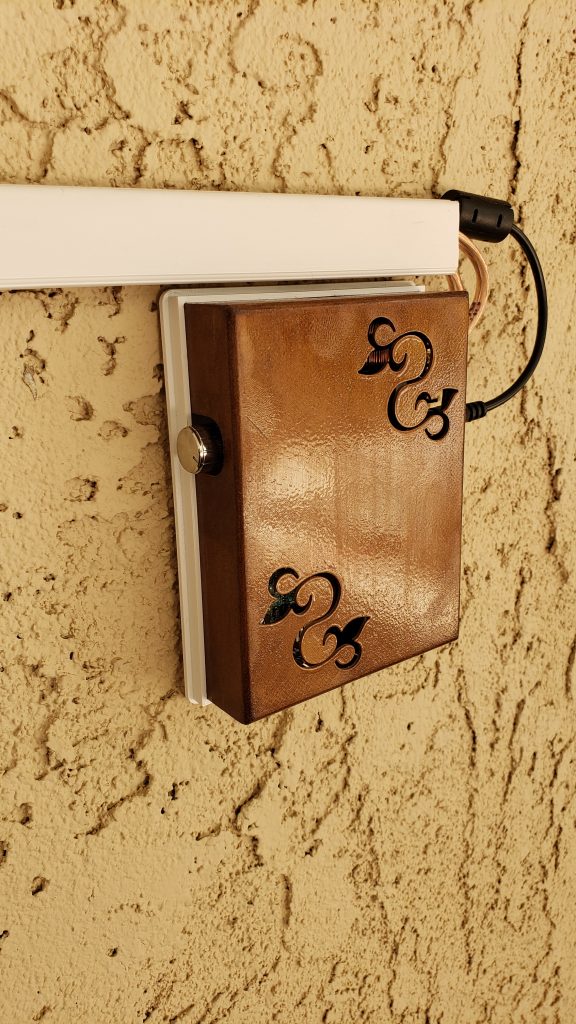
Took me a few attempts, revisions and refinements but here is the final result:
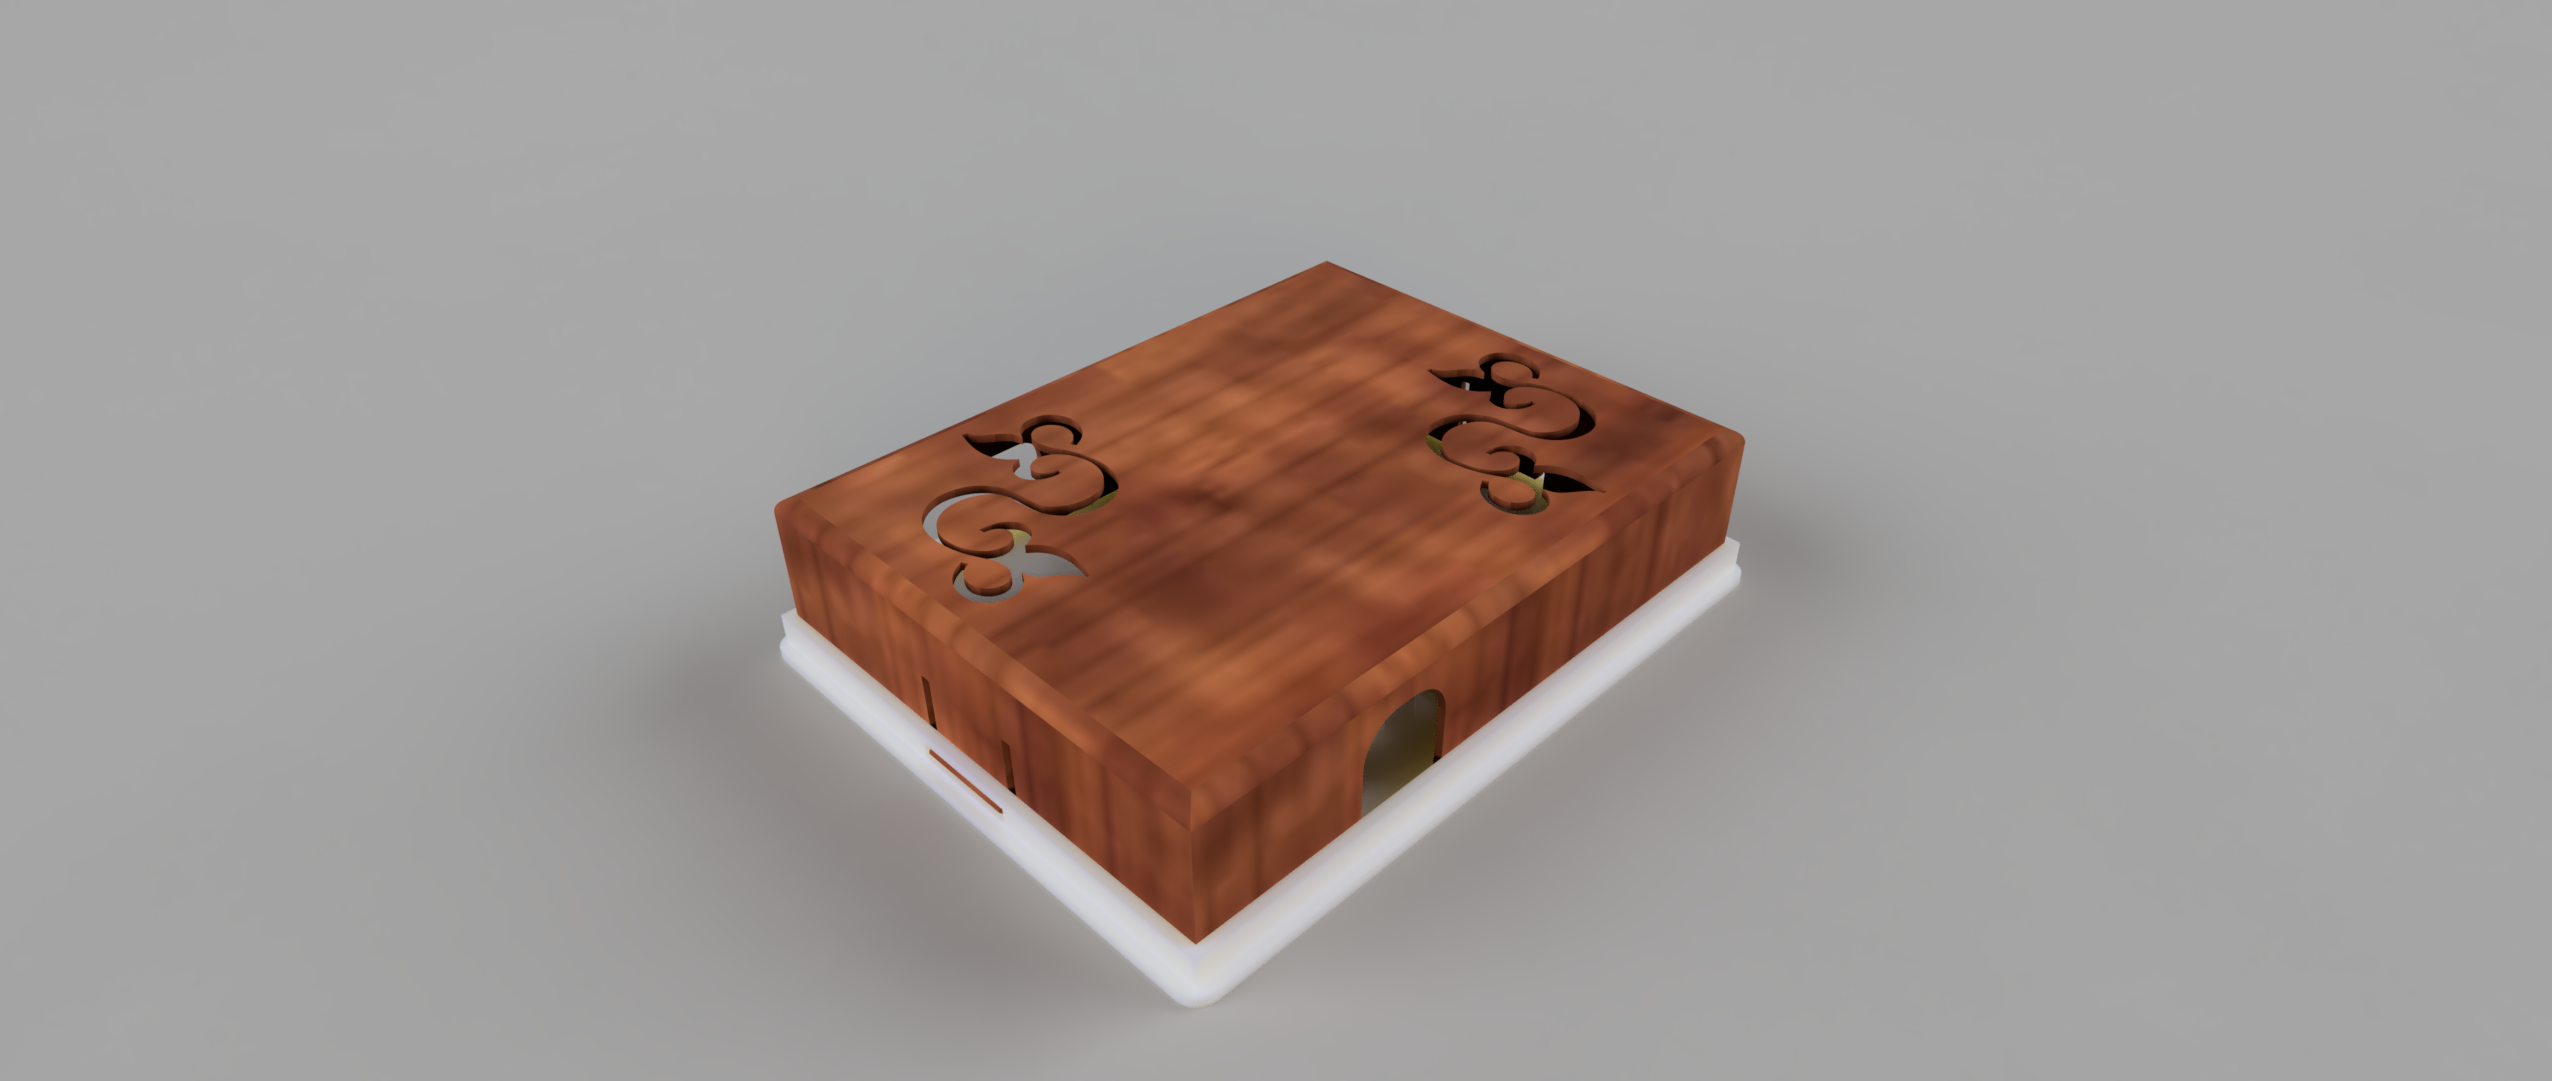
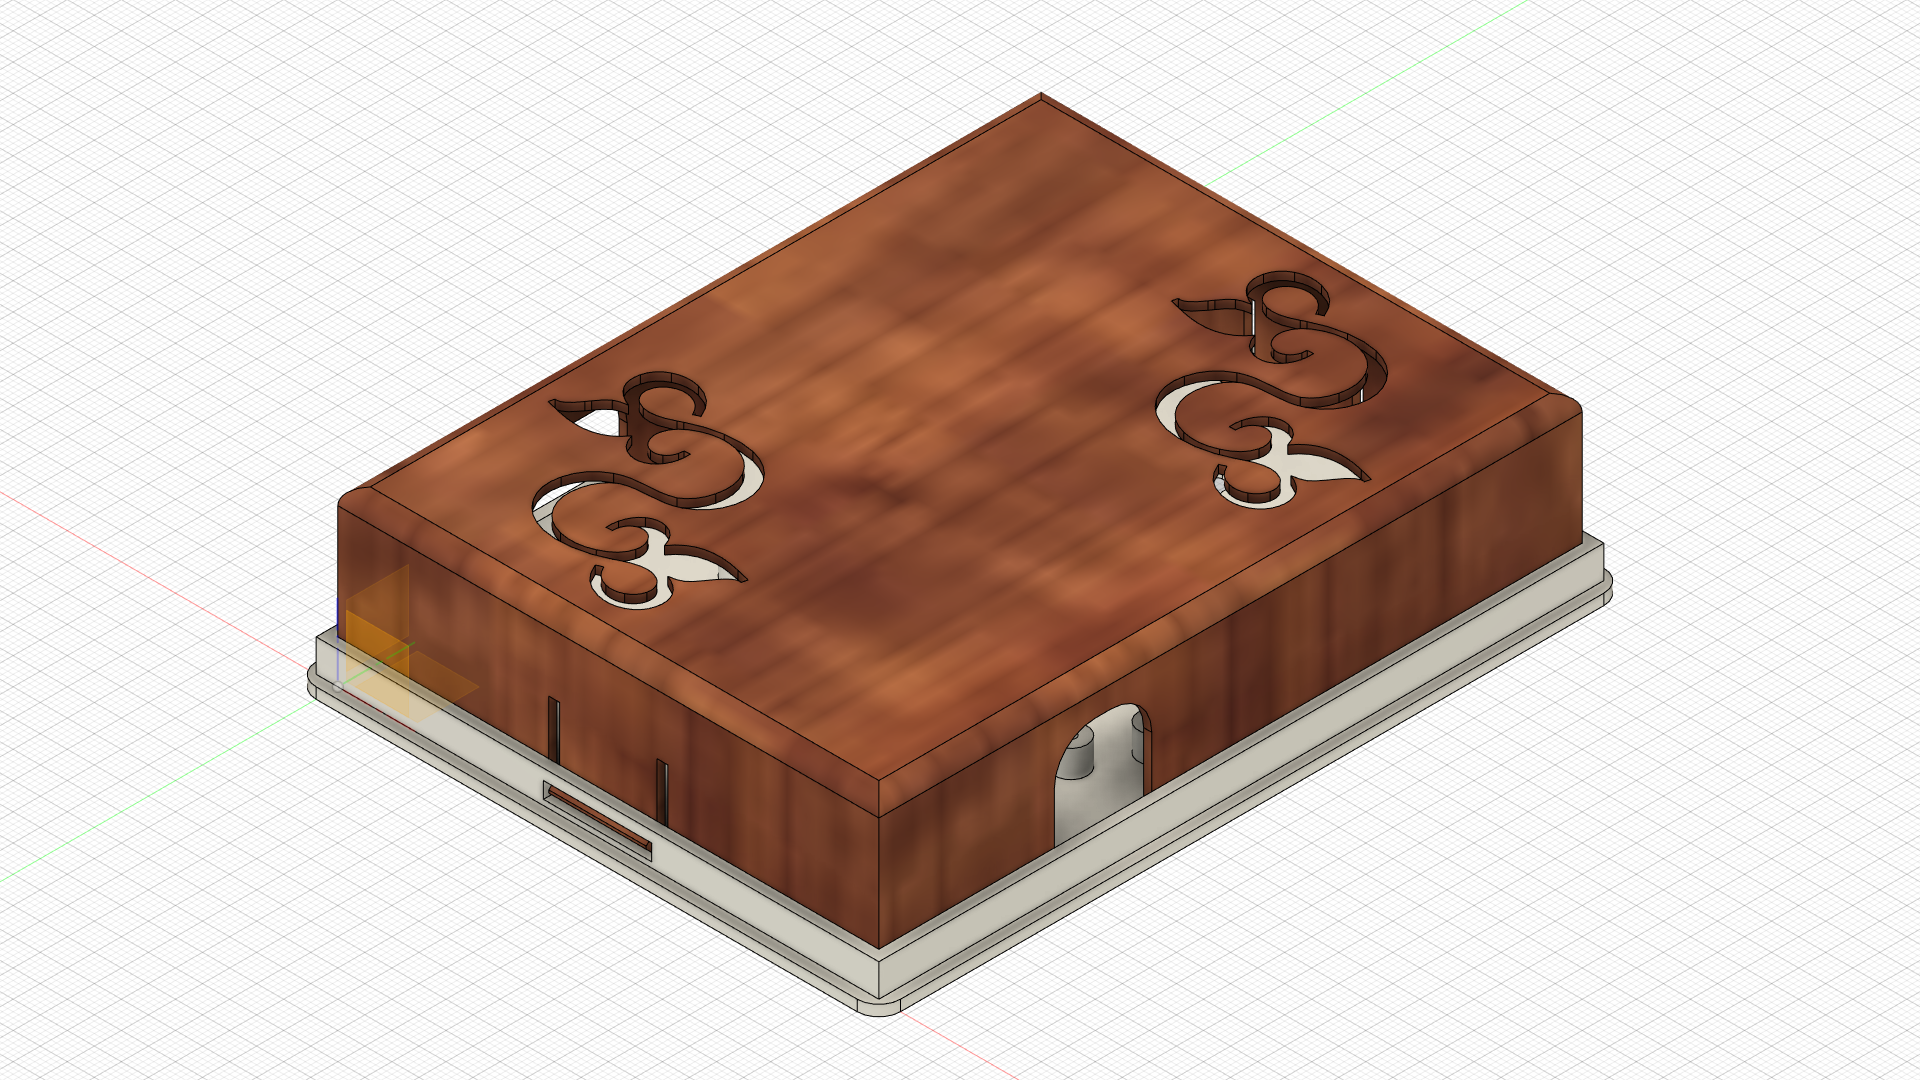
I left slots for the speaker cables, power adapter and volume knob. Designed in Fusion 360, here are the uploaded f3d and stl files on Thingiverse. The base of the enclosure I printed in PETG for the extra durability.
I used Hatchbox wood PLA for the cover, which I then sanded, stained and finished with Shellac spray.

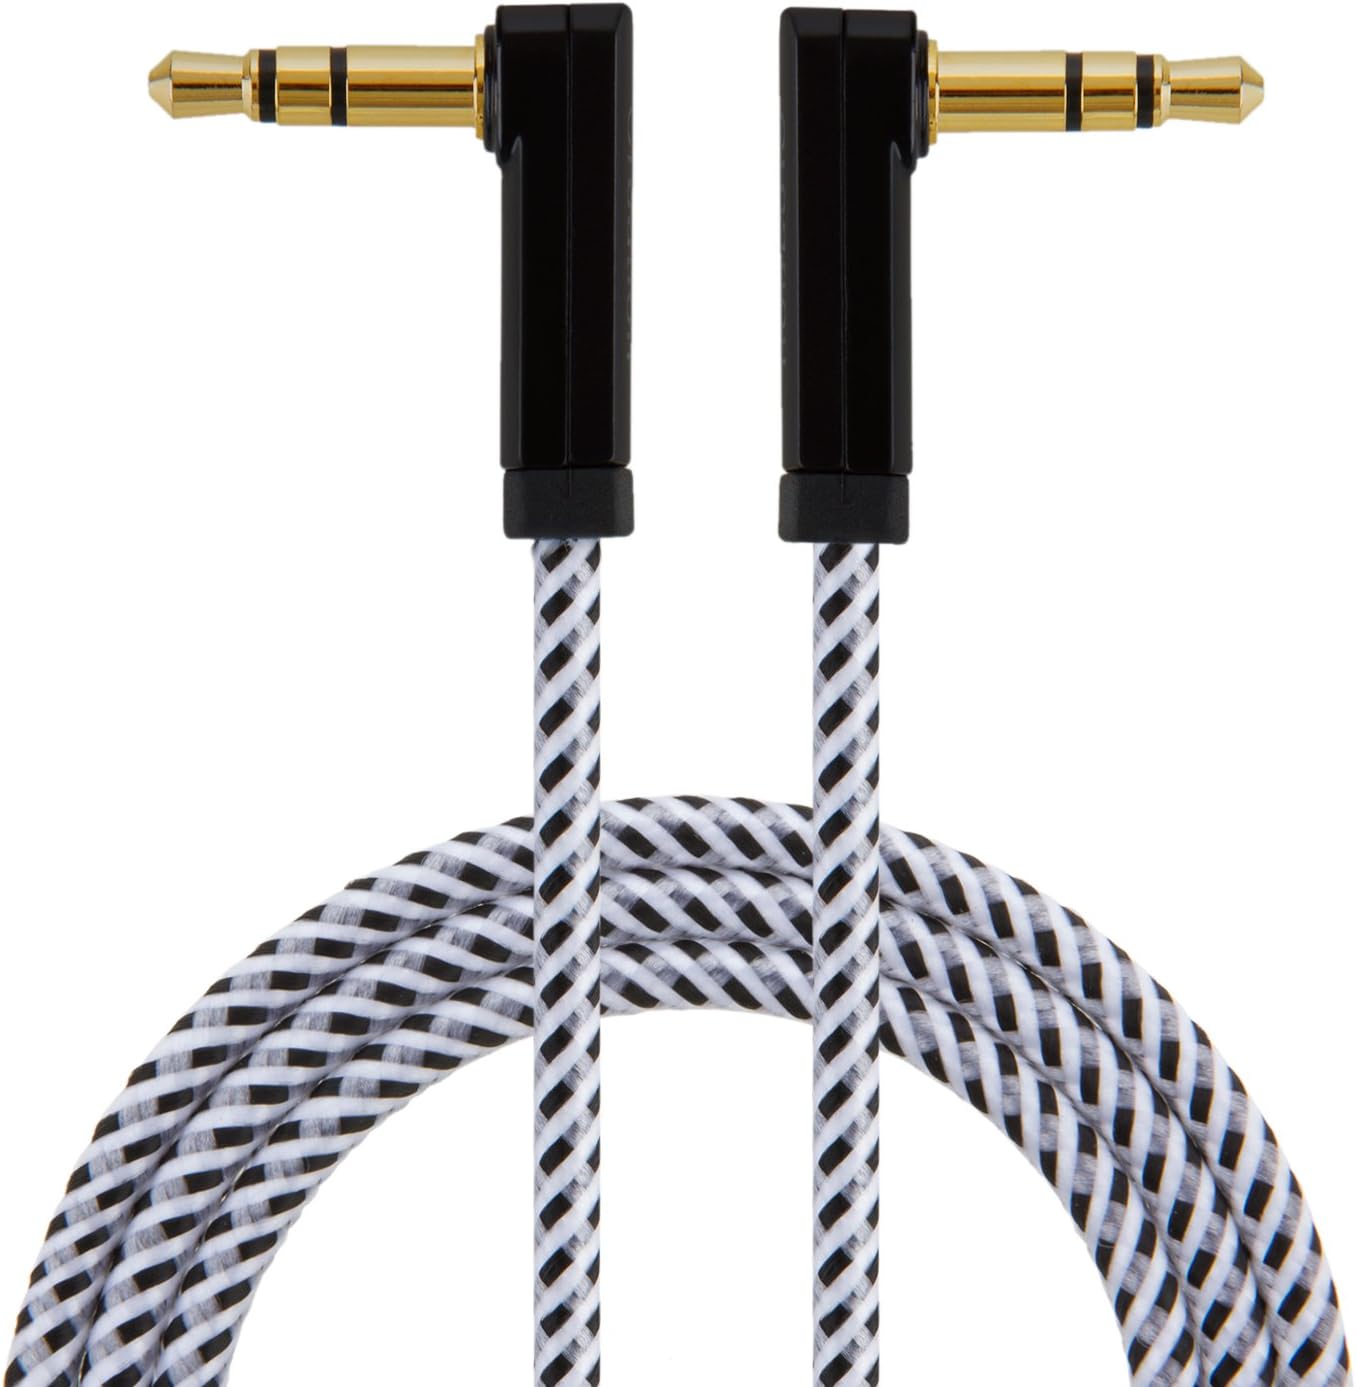
I had to use a very slim 90 degree audio cable in order to keep the box small and volume knob accessible. After several bad choices, I arrived at this one which does the job really well. They are not always in stock but you need a short one (1, 1-5 ft. is plenty) and with both end looking like this:
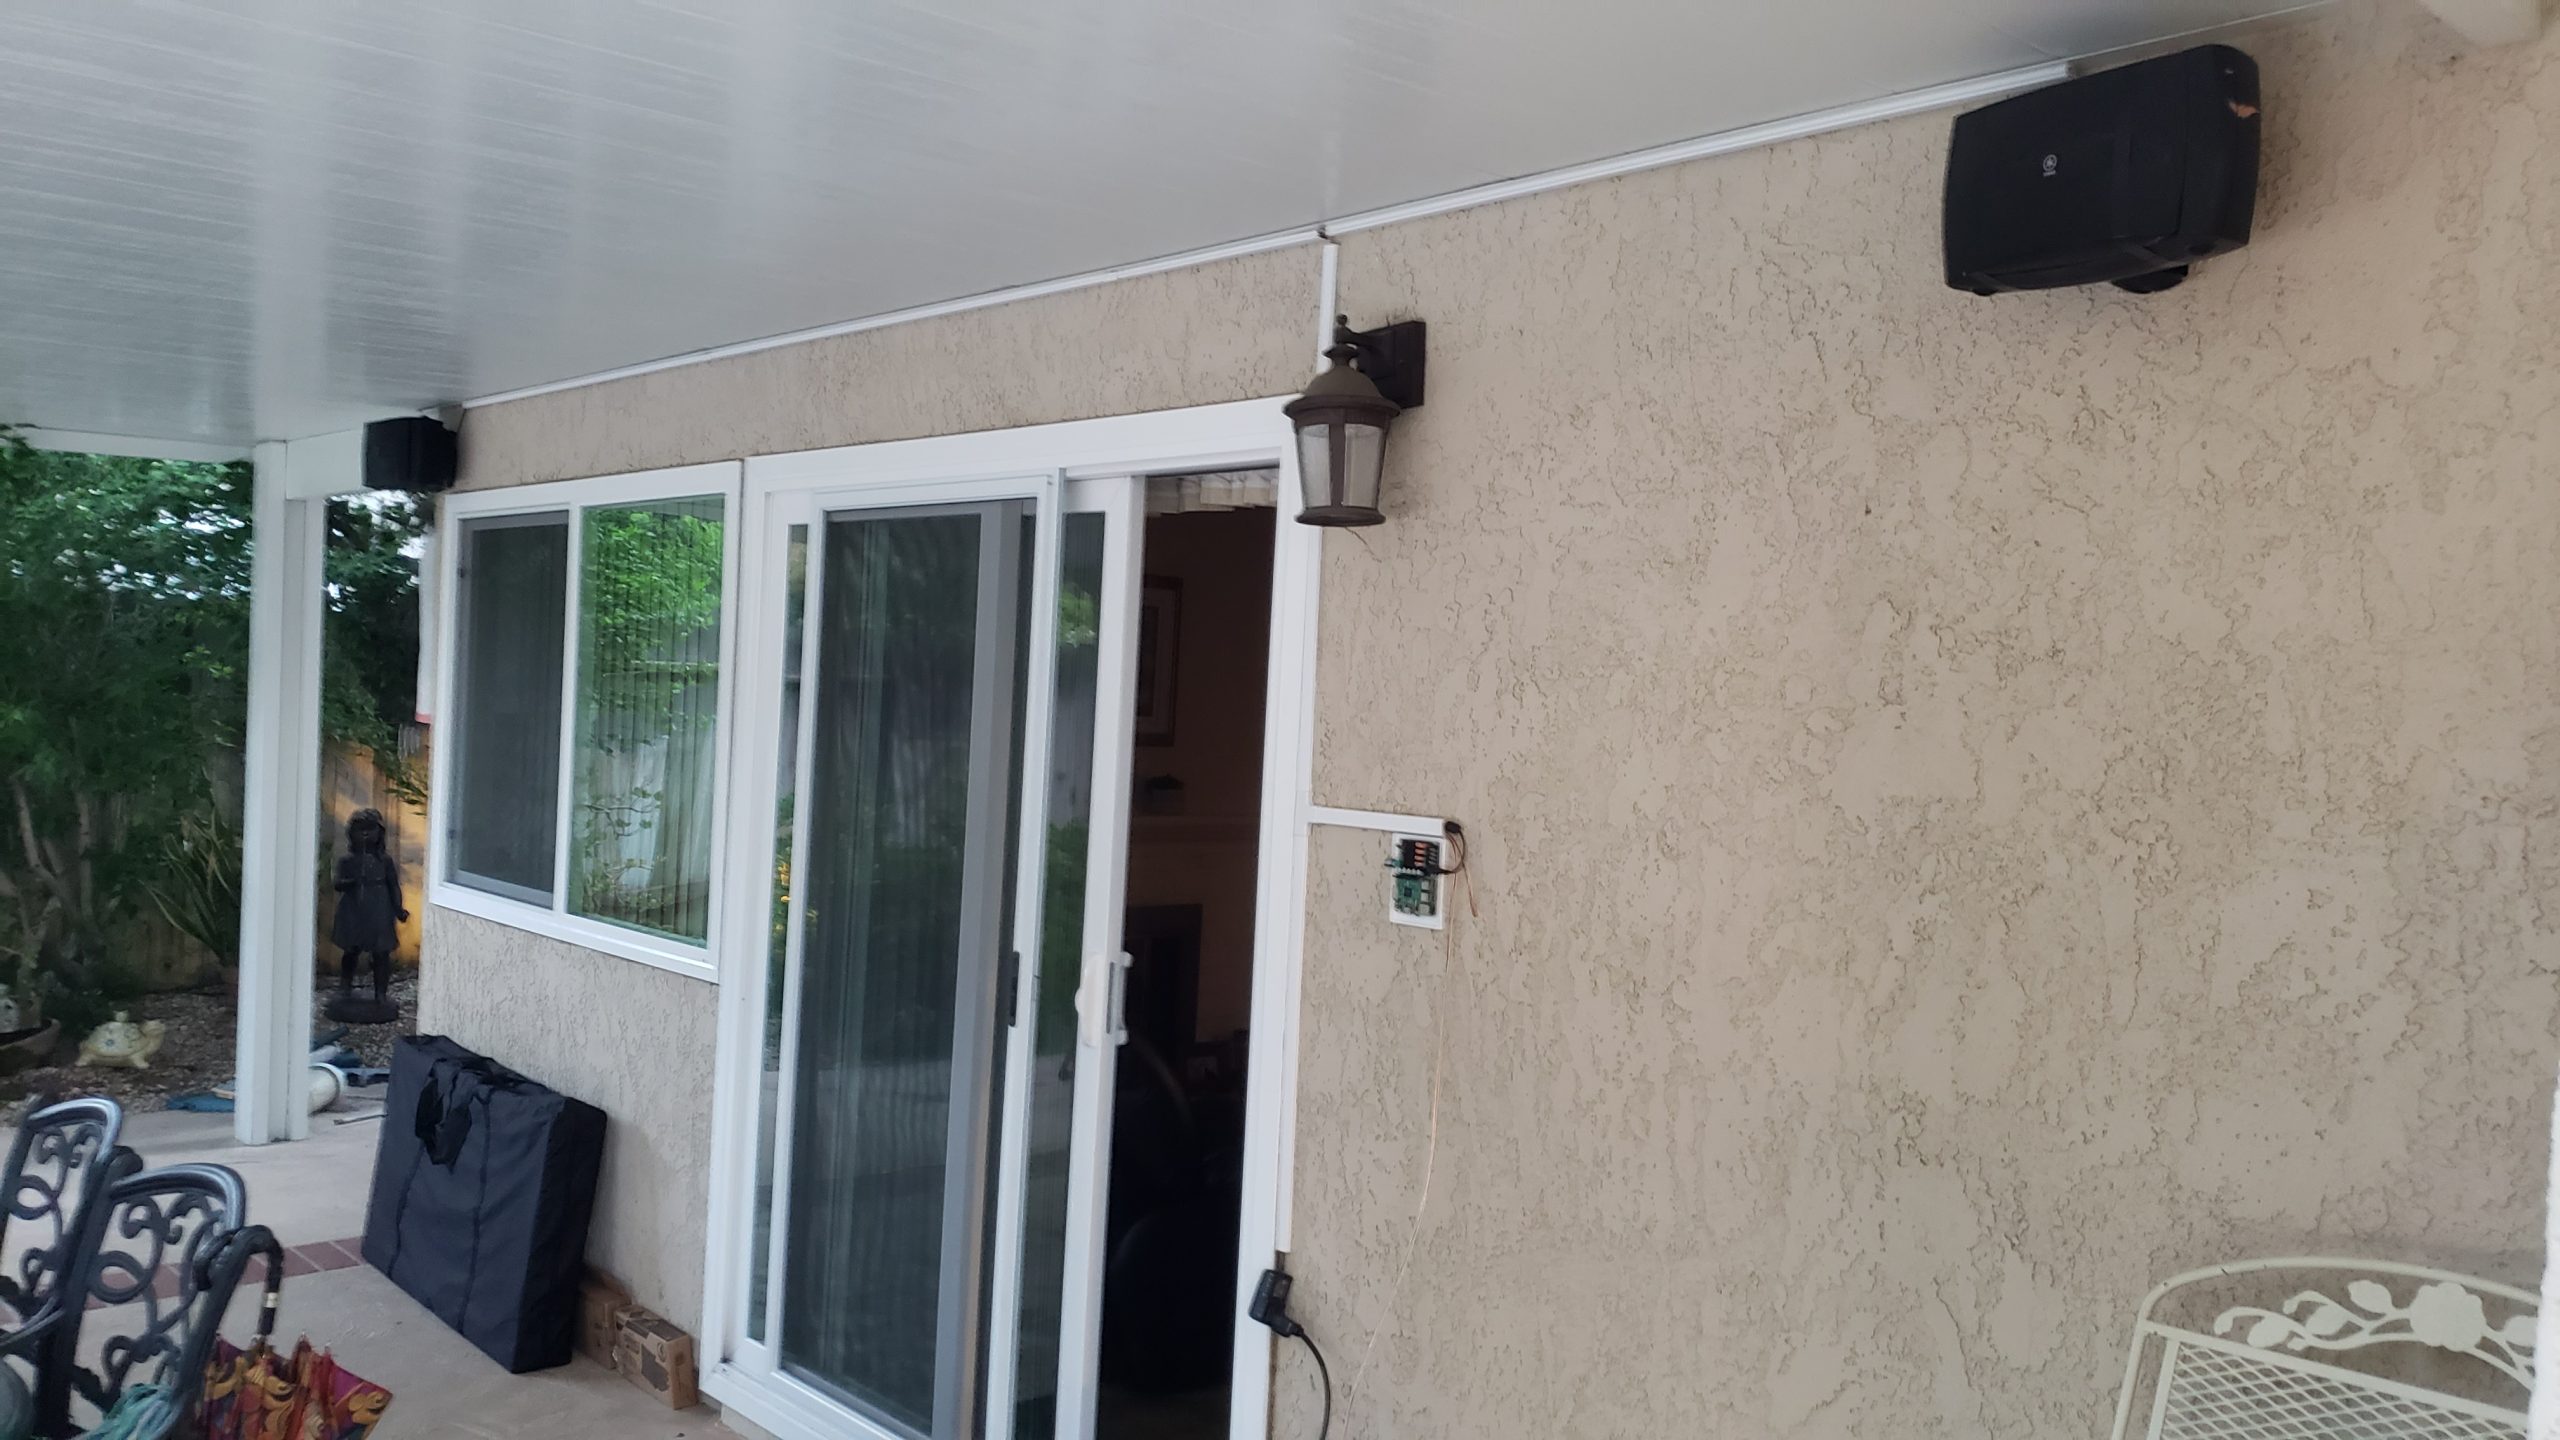
Speaker Installation
I bought these Yamaha NS-AW350B speakers years ago and was pretty happy with them. They lasted and served quite well in the old home, without noticeable deterioration from outdoor exposure, for years.
Install was straightforward, drilling stucco anchors for the box and the speakers. Ran AmazonBasics 100ft 16-Gauge Audio Stereo Speaker Wire Cable and completed the cable management with Legrand – Wiremold C210 Cord Mate II Kit.
Finishing Touches
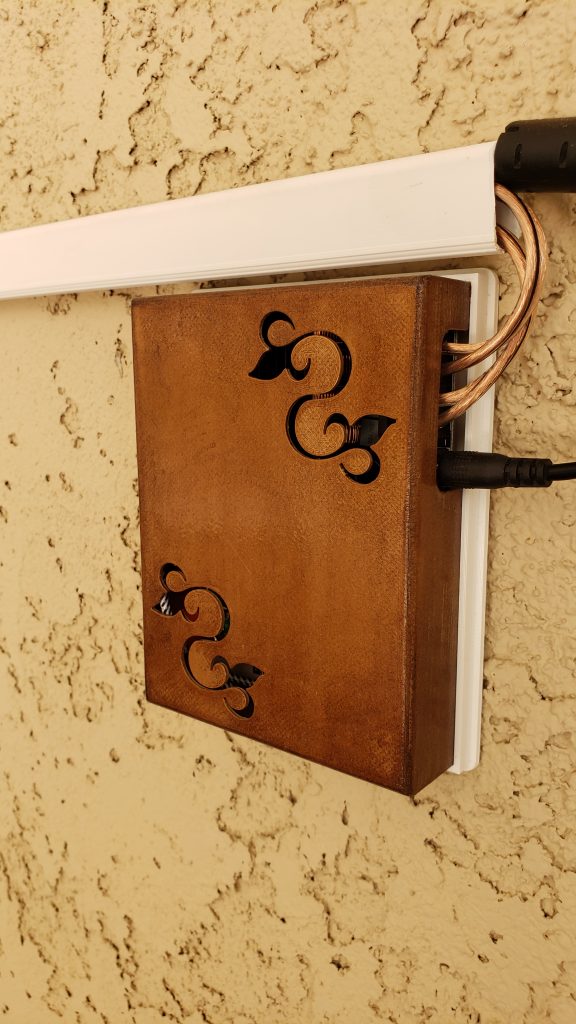

I’m quite happy with the outcome. The system has been running for 1-2 weeks now. The Raspberry Pi is not overheating, despite few 90+F days. It is reliable, responsive and a pleasure to use. Streaming over WiFi is awesome, I don’t have to cringe as the sound starts breaking when I leave Bluetooth range nor have to leave my phone “nearby”.
I was concerned about the sound quality of the Pi, but I find it definitely adequate for yard use and Spotify streaming. If I decide to upgrade in future, there are plenty of quality USB sound boards with Pi support, but I don’t currently see a need.